
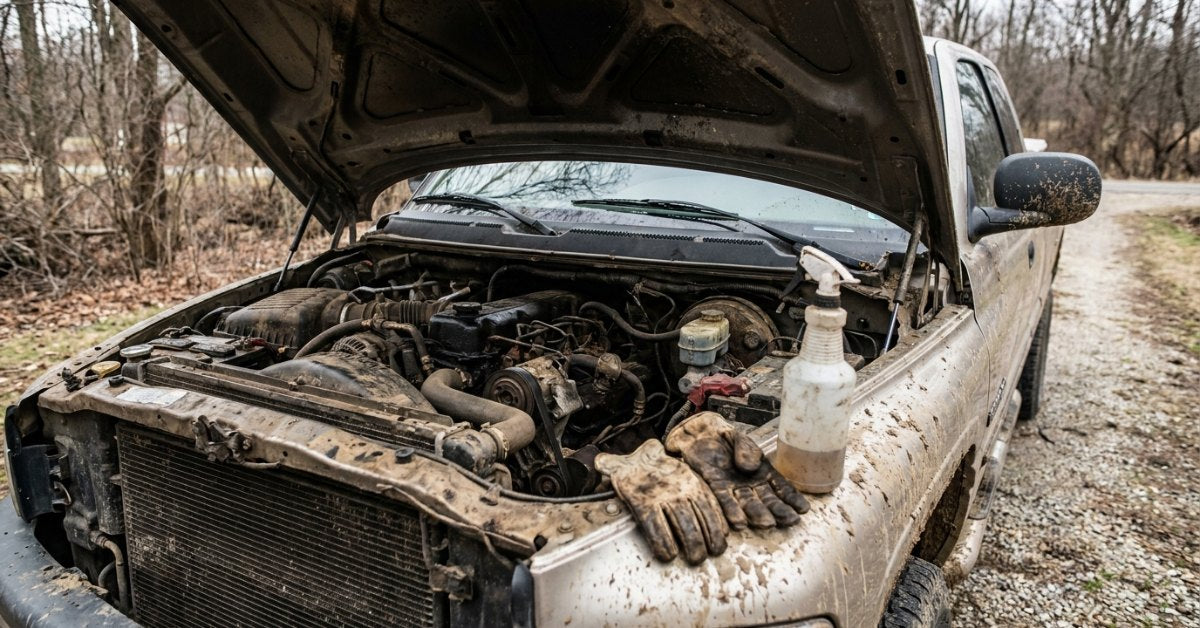
Pop the hood on a truck that works for a living and you already know what you'll find. Baked-on oil film, road dust turned to paste, leaves packed in the cowl, and a fine gray coating over everything that used to be black plastic. Most folks leave it alone because they're scared of one thing: soaking an engine and turning a Saturday afternoon into a tow bill. Fair enough. But knowing how to clean engine bay grime the right way is not complicated, and it does not take a shop. It takes a cold engine, a few plastic bags, a degreaser that actually cuts grease, and about an hour.
This is the same order we use on our own rigs. Cool it down, cover what water shouldn't touch, degrease, agitate, rinse low, dry it out. Do it in that order and nothing gets hurt.
Why a Dirty Engine Bay Is More Than a Looks Problem
A clean engine bay is not just for show trucks. Grease and dirt hold heat against parts already running hot, and oil film traps grit that works into pulleys and hoses. Worse, a coat of grime hides the exact thing you want to catch early: a weeping seal, a cracked hose, a wet spot at the water pump.
You cannot spot a slow leak on a bay that's black with old oil. You can spot one on a bay that's clean. That alone is worth the hour.
What You Need Before You Start
Nothing exotic. Most of it is already in your garage.
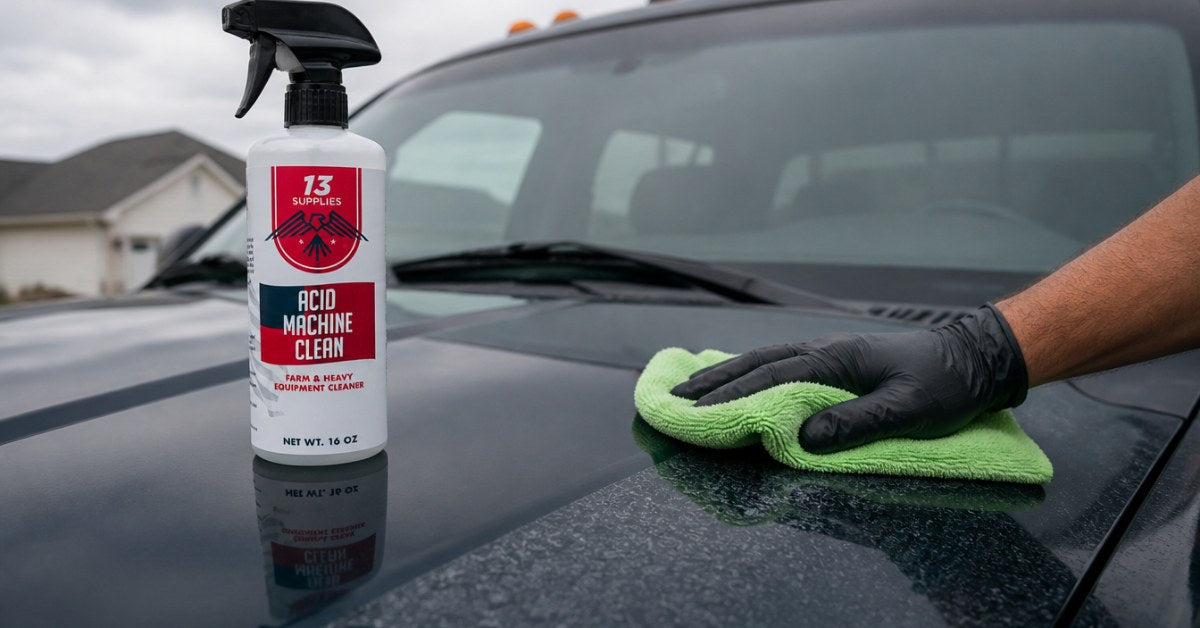
- A heavy-duty degreaser. This is the one thing you cannot cheap out on. Machine Clean is what we reach for, because it breaks down baked oil film without twenty minutes of scrubbing.
- Plastic bags or plastic sheeting, plus tape or rubber bands.
- Two or three brushes: a long-handled soft brush, a detail brush for tight spots, and an old toothbrush for around connectors.
- A garden hose with a normal spray nozzle. Not a pressure washer. More on that below.
- Microfiber towels, more than you think you need.
- Compressed air or a leaf blower for drying, if you have one.
- Nitrile gloves and eye protection.
If you're washing the whole truck the same day, keep a bottle of Liberty Soap handy for the body work. It's a different job with a different chemical, and mixing the two up is how people end up disappointed with both.
How to Clean Engine Bay Grime in 7 Steps
Step 1: Let the Engine Cool All the Way Down
Cold. Not warm. Not "I only drove it to the store." Spraying cool water on a hot exhaust manifold is how you crack something expensive, and hot surfaces flash-dry cleaner before it can work.
If you drove the truck that morning, park it in the shade and go do something else for two hours. Touch the manifold with the back of your hand before you start. If you flinch, you're not ready.
Step 2: Cover What Water Shouldn't Touch
This is the step that separates a clean engine from a no-start. Bag and tape anything that does not want to get wet:
- The air intake opening and the air filter box
- The alternator
- The fuse box and any exposed relay panels
- The battery and its terminals
- Any exposed electrical connector you can see, especially the big ones
- The distributor cap if your rig is old enough to have one
Grocery bags and painter's tape work fine. Take your time. It's five minutes against a very bad afternoon.
Step 3: Blow Out the Loose Stuff First
Before any liquid touches anything, get the dry debris out. Leaves, pine needles, acorns, and whatever the mice have been up to. A leaf blower or compressed air does this in thirty seconds. A shop vac works too.
Do this dry. Wet leaves turn to paste, pack the cowl drain, and that's how water finds its way into your cab.
Step 4: Degrease
Lightly mist the bay with water first. Damp surfaces help the cleaner spread and keep it from drying on hot-colored plastic. Then work top to bottom with your degreaser: the underside of the hood, the valve covers, the firewall, down the sides, and last the low spots where everything settles.
Spray it on and let it sit, but do not let it dry. On a truck that's never been cleaned, plan on hitting the worst areas twice. Two light applications beat one heavy one.

Work in the shade. Direct sun dries cleaner before it has time to break anything down, and then you're just moving grime around.


Step 5: Agitate
Cleaner does most of the work, but the stubborn stuff needs help. Long-handled brush for the open areas, detail brush around hoses and brackets, toothbrush for the seam where the firewall meets the fender well, which is where the worst of it hides.
Go easy around wiring looms and vacuum lines. You're loosening grime, not scrubbing paint off a deck. If a spot won't give up, hit it with cleaner again instead of leaning on it harder.
Step 6: Rinse Low and Slow
Here's where people get themselves in trouble. Put the pressure washer away. A garden hose on a normal spray setting is all you need, and it's all you should use.
Pressure washers force water past seals and into connectors that were never designed to hold back that kind of force. That water sits there and corrodes a pin, and three weeks later you have an intermittent fault that nobody can find. A hose rinses grime off. A pressure washer drives it in.
Rinse from the top down, keep the stream moving, and angle it so water runs out and away instead of pooling in the low spots.
Step 7: Dry It Out, Then Run It
Towel off everything you can reach, then blow out the corners and plug wells with compressed air or a leaf blower. Pull your bags off last, carefully, so the water sitting on top doesn't dump into the thing you just protected.
Now start the engine and let it idle for ten or fifteen minutes with the hood up. The heat drives off whatever moisture you missed. A rough first thirty seconds is normal, just moisture on the ignition burning off.
Once it's dry, a light coat of Black Ops on the plastic covers, hoses, and the inner fender liners takes the whole bay from clean to sharp. Apply thin, wipe the excess, and keep it off the belts and pulleys.

How to Clean Engine Bay Grime Without Water
Sometimes hosing it out is not an option. You're in an apartment lot, it's 40 degrees, or the bay has enough exposed electronics that you just don't want to risk it. You can still get most of the way there dry.
- Blow out all the loose debris first, same as before.
- Spray your degreaser onto a microfiber towel instead of onto the engine.
- Wipe surfaces down panel by panel, folding to a clean side often.
- Use a damp towel to pick up the residue, then a dry one behind it.
It takes longer and it won't reach every corner, but there's zero risk. It's also the right call on a bay with an exposed air filter or an aftermarket intake.
Five Mistakes That Turn a Clean Engine Bay Into a Repair Bill
- Working on a hot engine. Cracked plastic, warped metal, and cleaner that dries before it works. Wait for cold.
- Reaching for the pressure washer. The single most common way people damage an engine bay. Garden hose only.
- Skipping the bagging step. Five minutes of prep against a diagnostic bill. Not a close call.
- Letting degreaser dry on the surface. The residue is harder to remove than the grime you started with. Work in the shade, in sections.
- Not drying properly. Water left in a plug well causes problems days later, long after you've forgotten you cleaned anything.
How Often Should You Do This?
Once or twice a year covers most trucks. If you run gravel roads, tow, or live where they salt the roads, make it twice: spring after the salt stops, fall before it starts.
Between full cleanings, a quick wipe of the top surfaces while you're already washing the truck keeps the film from building back up.
If you're doing the whole rig top to bottom, the foam washing guide covers the body side, and the wheel cleaning guide handles the brake dust. Same degreaser does double duty on both jobs, which is why a lot of guys just grab a value pack and be done with it.
Engine Bay Cleaning FAQ
Can I use a pressure washer on my engine bay if I keep my distance?
We don't recommend it. Even at a distance, the spray pattern concentrates enough force to push water past seals and into connectors. A garden hose gets the bay just as clean with none of the risk. If you have a pressure washer with a true low-pressure soap nozzle, that setting is fine for applying cleaner, but rinse with the hose.
What if I get water on the alternator or a connector anyway?
Don't panic. Blow it out with compressed air, towel what you can reach, and let the truck idle with the hood up for fifteen or twenty minutes so the heat can finish the job. Most of the time that's the end of it. If you get a check engine light or a rough idle that doesn't clear after a drive cycle, get the codes read.
Will degreaser hurt my paint or the underside of the hood?
A quality all-purpose cleaner used as directed and rinsed off will not hurt factory paint. What causes trouble is letting it sit and dry, especially in the sun. Keep the surface wet with product, work a section at a time, and rinse before it dries. Follow the directions on the label.
Get After It
That's how to clean engine bay grime without creating a new problem for yourself. Let it cool, bag the electronics, degrease from the top down, agitate the stubborn spots, rinse with a hose instead of a pressure washer, and dry it out before you call it done. The first time takes the longest. After that it's an hour of easy work twice a year.
Everything we used here is made in America. We're a family business that started because the cleaners on the shelf couldn't handle the grease on our own equipment, so we made something that could. That story is on our story page. A portion of every order goes toward supporting our troops through the Wounded Warrior Project.
Grab a bottle of Machine Clean, pick a cool morning, and go open that hood.

Leave a comment
This site is protected by hCaptcha and the hCaptcha Privacy Policy and Terms of Service apply.